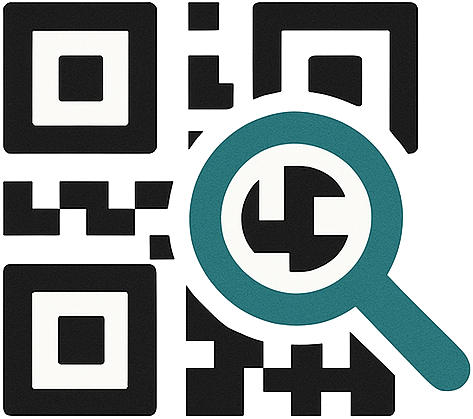

A black-and-white blocky QR Code works, but it's ugly and generic. A professional brand wants the QR with its own look: logo in the center, brand identity colors, maybe rounded corners. You can do it — but there's a technical limit that, if exceeded, the QR stops scanning.
This article shows exactly how far you can customize without breaking the read, and how to do it right.
Why QR accepts customization (the margin of error)
QR Code has built-in error correction. It can be read even with part of it damaged, dirty or covered. There are 4 levels:
| Level | Damage tolerance | Use |
|---|---|---|
| L (Low) | ~7% | Clean QR, no logo |
| M (Medium) | ~15% | Standard |
| Q (Quartile) | ~25% | With small logo |
| H (High) | ~30% | With logo / strong customization |
When you put a logo in the center, you're "damaging" the QR on purpose. Error correction compensates — up to the limit of the chosen level. That's why: always use level H when you have a logo.
What you can customize (safely)
✅ Logo in the center
You can, as long as it covers at most 20-25% of the area (with level H). A logo bigger than that → reading fails in bad conditions (low light, blurry print).
Practical rule: the logo takes the center square, leaves the 3 corner "anchors" always visible (those are the big squares the scanner uses to orient itself).
✅ Colors
You can change the color of the modules (the dark cells) and the background. Golden rule: high contrast. Dark color on a light background works. The scanner needs to clearly distinguish "dark" from "light".
Works: navy on white, dark green on light yellow, purple on white. Doesn't work: light gray on white, yellow on white, any low-contrast combination.
More on contrast in the 10 common mistakes.
✅ Gradient
You can, carefully. A subtle gradient from one dark color to another dark color works. A gradient that passes through light tones in the middle breaks the contrast in some modules.
✅ Rounded module corners
The "modern" style with rounded dots instead of squares. Works well if you keep contrast and the corner anchors.
✅ Frame with call-to-action
A border around the QR with "Scan here" / arrow. Doesn't affect reading (it's outside the QR area) and greatly increases the scan rate — the person understands it's meant to be scanned.
What NOT to do
❌ Logo covering more than 25%
The temptation to put a giant logo in the middle. Result: in small print or low light, it won't read.
❌ Invert without testing
A "negative" QR (light on a dark background) works on SOME scanners, fails on others. If you're going to use it, test on several phones.
❌ Low-contrast color for aesthetics
"But my brand color is pastel yellow..." — then use the yellow in the background and a dark tone in the modules, not the other way around.
❌ Forget the quiet zone
The white margin around it has to exist even in a stylized QR. A designer who "integrates" the QR into the layout without margin breaks the read. Detail in the common mistakes.
❌ Distort / stretch
A QR is square. Stretched into a rectangle = garbage. Keep the 1:1 ratio.
Recommended workflow for a branded QR
- Generate the QR with error correction level H.
- Apply the brand colors (dark on light, strong contrast).
- Place the logo in the center taking up to 20%.
- Keep the 3 corner anchors visible.
- Preserve the quiet zone (white margin).
- Add a frame with "Scan" if there's room.
- Test on 3 phones + low light before producing.
Static or dynamic for a brand QR?
For brand material (card, packaging, storefront) that will last, use dynamic — you change the destination without redoing the artwork. Why.
The question everyone asks
"Can I make a round QR / heart-shaped / in the shape of my logo?"
Not entirely. The QR needs the square structure with the anchors to be read. You can stylize within that structure (colors, rounded dots, central logo), but not turn the whole QR into a circle or heart. What exists are QRs with a creative frame around them — but the code itself stays square.
Summary
QR customization is a matter of respecting error correction:
- Level H whenever you have a logo
- Logo ≤ 20-25% of the area
- Strong contrast (dark on light)
- Corner anchors always visible
- Quiet zone preserved
- Test on several phones
Done right, you have a beautiful QR with the brand's look that scans on the first try.
Create your customized QR — with adjustable colors, logo and correction levels.